Tips for Creating Stunning Celebration Cakes Like a Professional
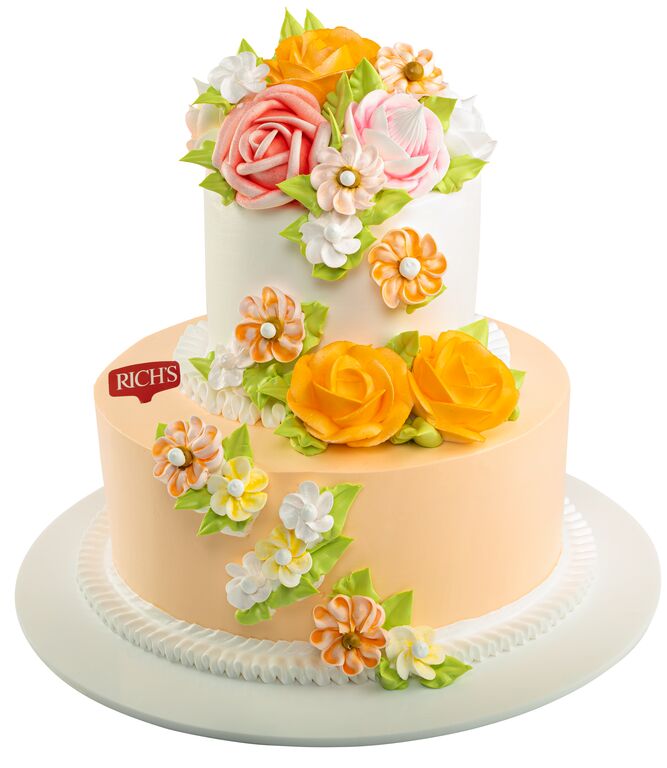
A celebration cake carries a lot on its shoulders. It sits in the middle of the table, everyone photographs it, and it has to taste as good as it looks. No pressure. Yet the gap between a homemade cake and a professional one usually comes down to a handful of small habits, not some secret talent you were born without.
The good news is that most of those habits are easy to learn. A steadier crumb coat here, a chilled cake there, a piping bag held at the right angle, and suddenly your bake looks like it came from a proper bakery window. That is what this guide is about.
At Rich’s, we supply the creams, whip toppings and fillings that go into thousands of celebration cakes across India every week, so we have picked up plenty of tricks from the bakers who use them. Here is how to make your own celebration cakes look genuinely professional, one step at a time.
What Makes a Celebration Cake Look Professional?
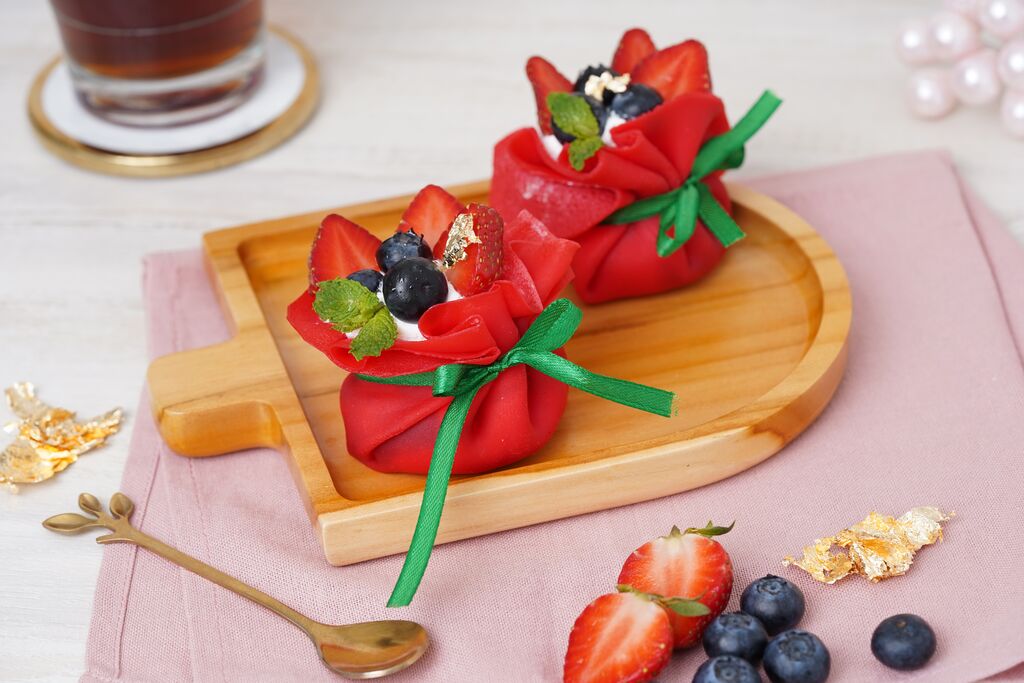
Before the piping and the sprinkles, it helps to know what your eye is actually reacting to. If you want to know how to make a celebration cake that looks shop-bought, this is where it starts. A professional cake almost always gets three things right: clean, sharp edges, a smooth and even surface, and decoration that looks deliberate rather than scattered. Flavour matters enormously, of course, but the visual polish is what people notice first.
Notice that none of those three things need expensive equipment. They need patience, a cold cake and a little planning. Keep that in mind and the rest of these cake decorating tips will make far more sense.
What Do You Need Before You Start?
You do not need a shop full of gadgets to decorate well. A small, reliable kit does more than a drawer full of tools you never use. Here is a sensible starting list for professional cake decorating at home.
| Tool | What It Does | Worth Buying? |
|---|---|---|
| Turntable | Spins the cake for smooth, even frosting | Yes, game-changing |
| Offset palette knife | Spreads and smooths buttercream | Yes, essential |
| Bench scraper | Creates sharp, flat sides | Yes, essential |
| Piping bags and a few nozzles | Borders, flowers and lettering | Yes, start small |
| Cake leveller or serrated knife | Trims domed tops flat | Yes |
| Digital scale | Keeps recipes consistent | Yes |
How Do You Prepare and Level a Cake for Decorating?
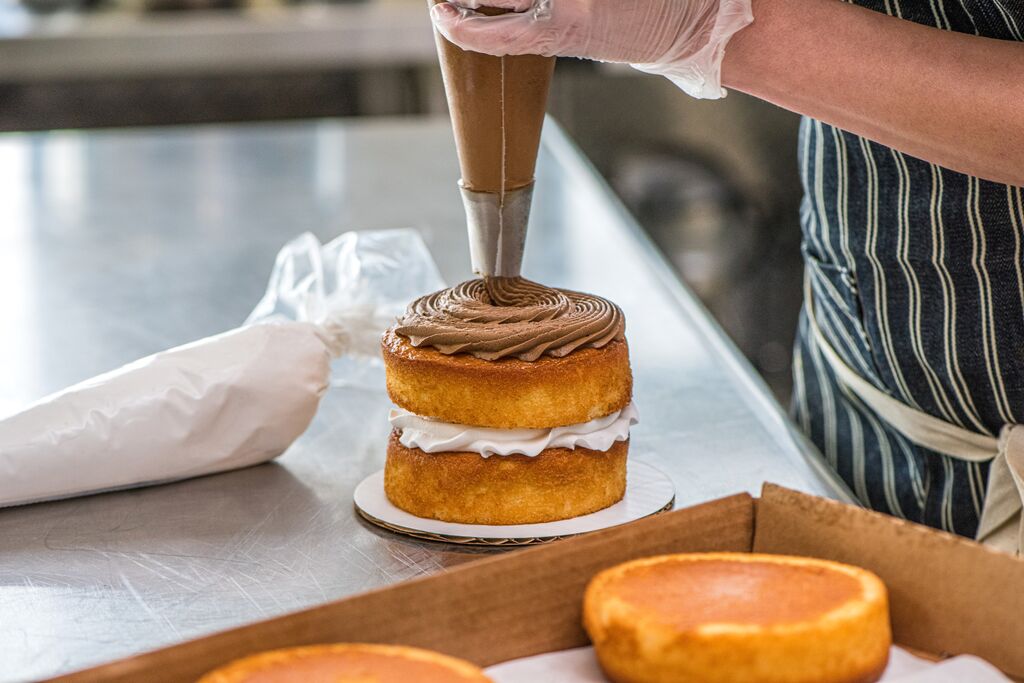
Decoration only ever looks as good as the base underneath it. Start by letting your sponges cool completely, then level the domed tops with a serrated knife or leveller so the layers stack flat. A wonky base cannot be rescued with frosting later.
Once filled and stacked, give the whole cake a thin crumb coat, a very light layer of buttercream that traps loose crumbs. Chill it for twenty to thirty minutes until firm. This single step is the biggest secret behind a clean finish, because your final coat then goes on smoothly with no crumbs dragging through it. Skipping the crumb coat is the most common reason a home cake looks patchy.
Which Frosting and Decorating Techniques Should You Master?
You do not need dozens of skills. A few well-practised cake decorating techniques will carry almost any celebration cake. Learn these and you can mix and match them for any occasion.
The Smooth Buttercream Finish
After the crumb coat, apply a thicker final layer of buttercream, then hold a bench scraper against the side while slowly spinning the turntable. A buttercream cake with clean, flat sides instantly looks more professional. Warm the scraper in hot water and wipe it dry for an even glossier finish.
Piping Borders, Flowers and Lettering
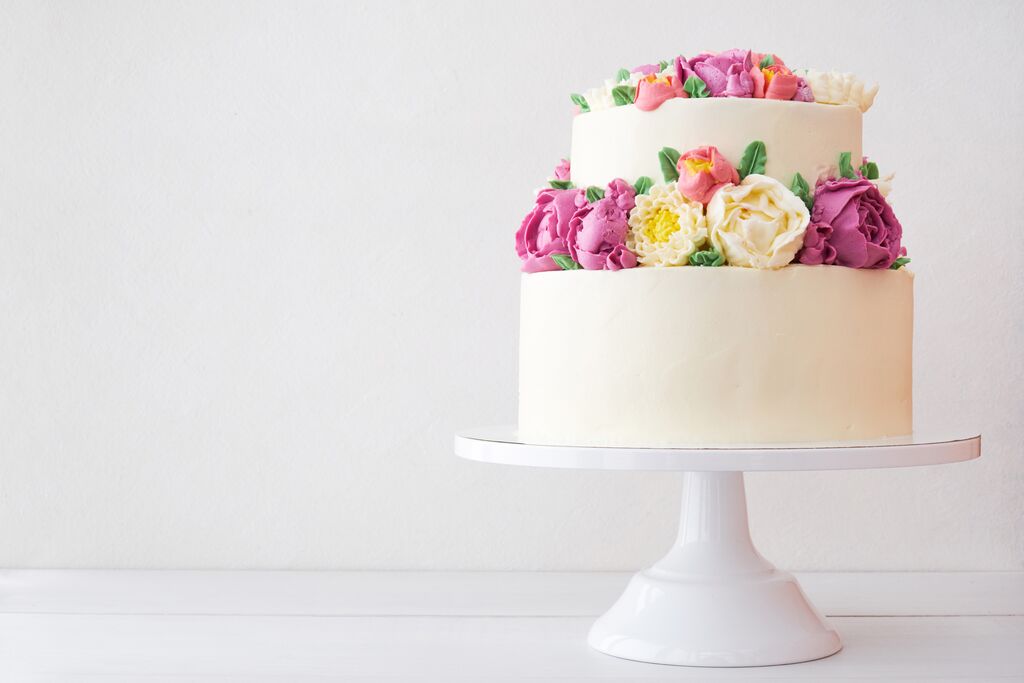
Piping hides a multitude of small imperfections and adds that handmade, bakery feel. A simple shell border around the base tidies the join between cake and board. A star nozzle gives you rosettes and swirls in seconds. Keep steady pressure and let the nozzle do the shaping.
Drips, Ganache and Glazes
A chocolate or coloured drip down the sides is one of the easiest ways to make a cake look striking. The trick is temperature: your ganache should be pourable but not hot, or the drips run too far. Test one drip at the back before committing to the whole cake.
Fresh Fruit, Flowers and Toppers
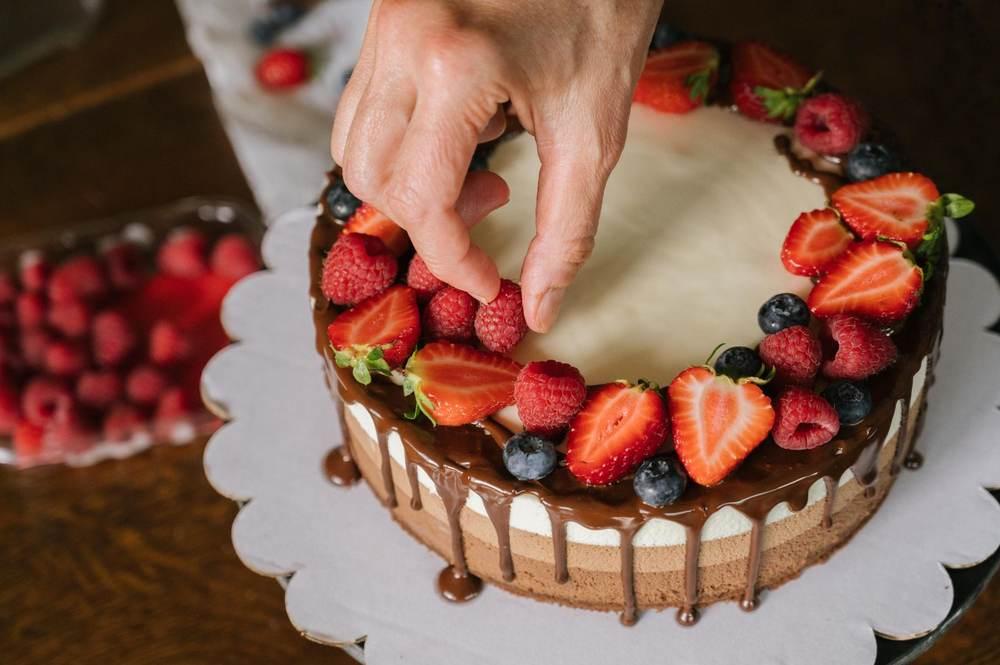
Sometimes the most stunning finish is the simplest. A crown of fresh berries, a few edible flowers, or a clean acrylic topper can lift a plain cake in seconds. Fresh fruit also adds colour and freshness without any extra piping skill required.
Here is how the main techniques compare when you are deciding what to try.
| Technique | Difficulty | Best For |
|---|---|---|
| Smooth buttercream | Medium | Weddings, minimalist cakes |
| Piped borders and rosettes | Easy | Birthdays, quick decoration |
| Chocolate drip | Easy | Trendy, modern celebration cakes |
| Fresh fruit and flowers | Very easy | Rustic and semi-naked cakes |
| Fondant covering | Hard | Sculpted and themed cakes |
How Do You Add Colour Without Overdoing It?
Colour is where many home cakes tip from stunning into busy. A professional palette usually sticks to two or three shades that work together, rather than every colour in the box. Choose one main colour, one accent, and let white or cream do the rest.
Use gel colours rather than liquid ones, as they are stronger and will not thin your buttercream. Add a tiny amount at a time, since colour deepens as it sits. If you are nervous, a soft pastel palette is very forgiving and bang on trend for 2026.
What Are the Trending Celebration Cake Ideas for 2026?
Styles move fast, and knowing what is current helps your cakes feel fresh. These are the celebration cake ideas bakers are asking about most this year.
| 2026 Trend | The Look | Why It Works |
|---|---|---|
| Minimalist buttercream | Smooth sides, one small detail | Elegant, quick, very photogenic |
| Vintage piping | Retro shells, scrolls and lambeth | Nostalgic and eye-catching |
| Bold single colour | One striking shade top to bottom | Modern and confident |
| Fresh flower crowns | Real or edible blooms on top | Effortless and romantic |
| Textured spatula finish | Deliberate swoops and peaks | Hides imperfections beautifully |
How Do You Transport and Store a Celebration Cake?
All that effort can undo itself on the car seat. Chill the finished cake until the buttercream is firm before moving it, and keep it in a sturdy box on a flat surface, not a lap or a slanted boot. In Indian heat, keep the air conditioning on during transport and avoid leaving the cake in a hot car even for a few minutes.
For storage, a filled and frosted cake keeps in the fridge for two to three days. Bring it back to room temperature for about an hour before serving so the sponge is soft and the flavours come through.
What Mistakes Make a Cake Look Amateur?
Most of the tell-tale signs of a homemade cake are easy to fix once you know them. Here is a quick troubleshooting table.
| What Goes Wrong | Likely Cause | How to Fix It Next Time |
|---|---|---|
| Crumbs in the frosting | No crumb coat, or cake not chilled | Always crumb coat and chill first |
| Bulging, uneven sides | Filling too soft or cake not levelled | Level layers; pipe a firm dam |
| Muddy, dull colours | Too many shades, or liquid colour | Use two or three gel colours only |
| Melting buttercream | Warm kitchen, cake left out | Work cold; chill between steps |
| Decoration looks scattered | No plan before piping | Sketch the design first |
Fix these five and your celebration cakes will already look a level above most homemade bakes. Professional cake decorating really is mostly about avoiding the obvious slips.
Frequently Asked Questions
1. How do I make a celebration cake look professional at home?
Level your layers, use a crumb coat, chill the cake, then finish with a smooth buttercream coat and a simple, planned decoration. Cold cakes and clean edges do most of the work.
2. What is the easiest way to decorate a celebration cake?
Fresh fruit, edible flowers or a simple chocolate drip give a striking result with very little skill. Piped rosettes with a star nozzle are also quick and forgiving.
3. Which buttercream is best for decorating cakes?
A stable buttercream or a stabilised whipping cream holds its shape and pipes cleanly. In warm climates, stability matters more than any single recipe.
4. How far in advance can I make a celebration cake?
You can bake sponges a day or two ahead and freeze them, then fill and decorate the day before the event. A finished cake keeps two to three days refrigerated.
5. How do I stop my buttercream from melting in the heat?
Work in a cool room, chill the cake between steps, and choose a stable frosting. Keep the finished cake refrigerated until close to serving time.
6. What colours should I use on a celebration cake?
Stick to two or three shades that complement each other, using gel colours added a little at a time. Pastels are especially forgiving and on-trend.
7. How do I transport a decorated cake safely?
Chill it until firm, place it in a sturdy box on a flat surface, and keep it cool during the journey. Avoid slopes, laps and hot car interiors.
References & Citations
King Arthur Baking Company. Cake Decorating Guides.
Wilton. Cake Decorating Basics and Techniques.
BBC Good Food. Cake Decorating Ideas.
U.S. Food and Drug Administration (FDA). Refrigerator and Freezer Storage.