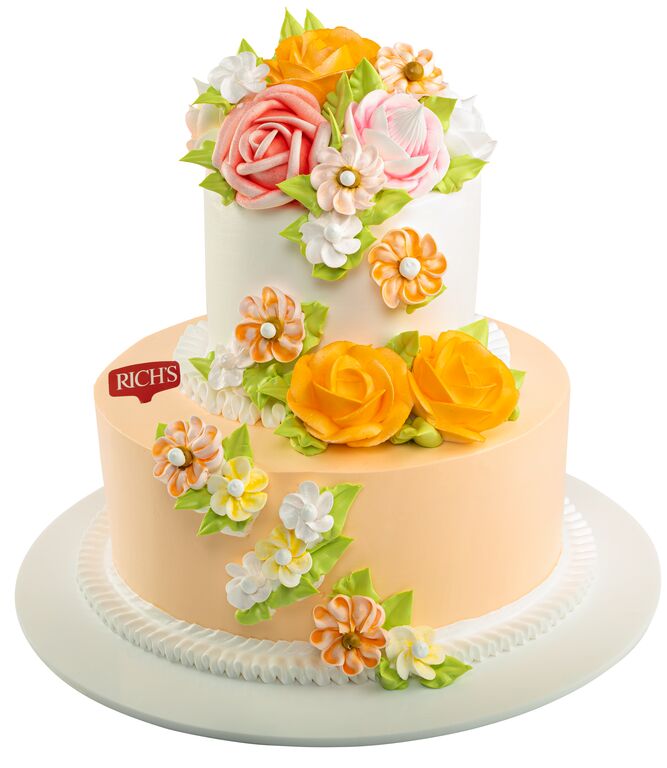
10 Piping Tips Every Homebaker Should Know
There is a moment every baker knows well. The cake is baked, the buttercream is ready, and then you pick up the piping bag and everything goes a bit sideways. The swirl collapses, the bag bursts at the seam, or your neat border turns into a wobbly squiggle. It is frustrating, but here is the good news: piping is far more about technique than talent.
Once you understand a few basics, how to fill the bag, how to hold it, how much pressure to use, piping stops feeling like a gamble. The same swirl that looked impossible last month starts landing every time. And because piping hides small imperfections, getting even halfway good at it makes every cake look more polished.
At Rich’s, our whip toppings and buttercreams are piped onto countless cakes and cupcakes every day, so we have gathered the piping tips that make the biggest difference. Here are ten every homebaker should know.
Why Do Piping Skills Matter for Homebakers?
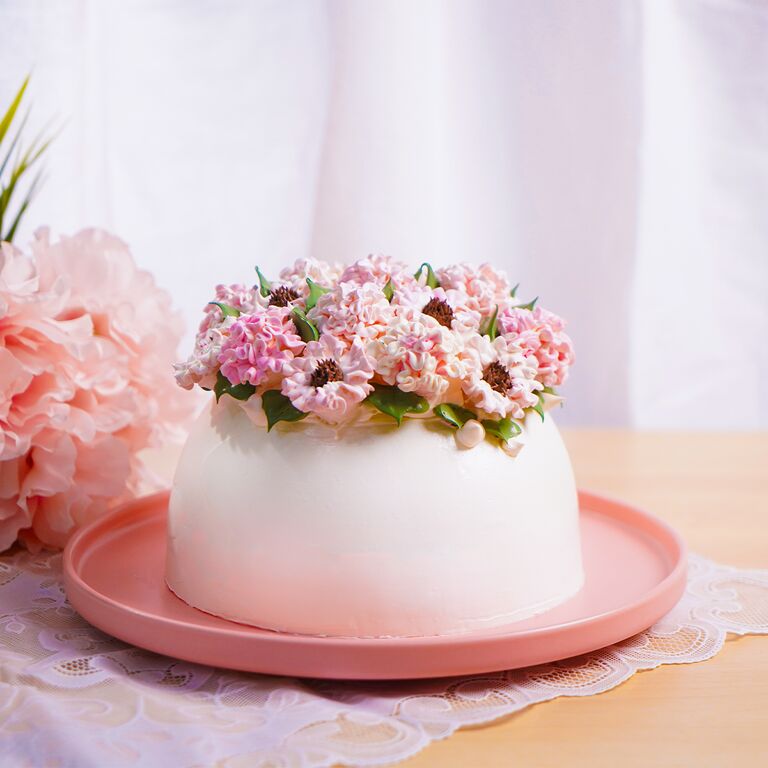
Piping is the quickest way to make a homemade cake look professionally finished. A simple shell border tidies up rough edges, a rosette hides a patchy spot, and lettering turns a plain cake into a personal one. None of it needs expensive kit, just a bag, a nozzle or two, and a little practice.
Better still, good piping techniques carry across everything you bake, from cupcakes to celebration cakes to cookies. Learn them once and you will use them forever.
What Are the 10 Piping Tips Every Homebaker Should Know?
Here they are, roughly in the order you will use them, from setting up your bag to finishing like a pro.
1. Get Your Buttercream Consistency Right First
This is the big one. If your buttercream is too soft it will not hold a shape, and too stiff it will ache your hands and tear. Aim for a smooth, spreadable consistency that holds a soft peak. Most piping problems are really consistency problems in disguise.
2. Use a Tall Glass to Fill the Bag
Stand your piping bag inside a tall glass and fold the top over the rim. Now you have two free hands to spoon in the buttercream cleanly, with no mess and no wrestling. It is the simplest of piping tips and it saves so much frustration.
3. Do Not Overfill the Bag
It is tempting to load the whole batch in at once, but a full bag is hard to control and more likely to burst. Fill it about halfway to two-thirds, twist the top and refill as you go.
4. Push Out the Air Before You Start
Trapped air causes those annoying splutters that ruin a smooth line. Twist the bag and squeeze gently until the buttercream reaches the nozzle and any air pockets are gone, then begin.
5. Learn to Control Pressure, Not Speed
Steady, even pressure is the secret to neat piping. Let the buttercream flow and guide the nozzle slowly, rather than rushing your hand. To stop cleanly, release the pressure first, then lift away.
6. Hold the Bag at the Right Angle
For swirls and rosettes on cupcake piping, hold the bag straight up at ninety degrees. For borders and writing on the side of a cake, hold it at about forty-five degrees. The angle changes everything about how the shape sits.
7. Start With Just a Few Piping Nozzles
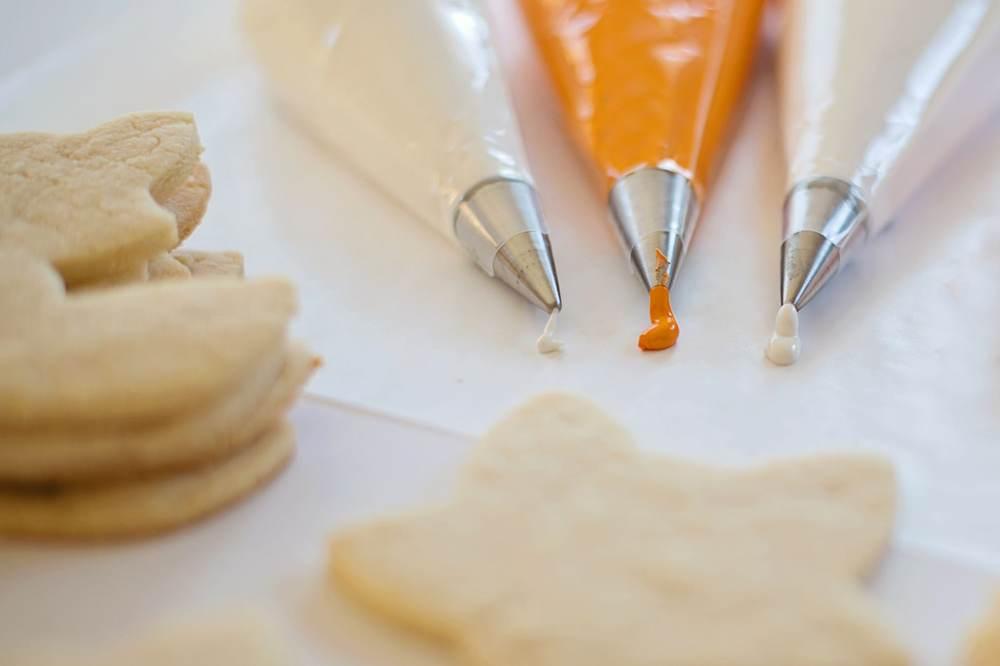
You do not need a hundred tips. A large star nozzle, a round nozzle and an open star will cover most of what a homebaker needs. Master these before you invest in a big set of piping nozzles you will rarely touch.
8. Practise on a Plate or Parchment First
Before you pipe onto your cake, do a few practice swirls on a plate or a sheet of parchment. Scrape the buttercream back into the bag and reuse it. Two minutes of practice saves a ruined cake and builds your confidence.
9. Chill Between Piping Sessions
Warm hands and a warm kitchen soften buttercream fast, which is a common problem in India. If your buttercream starts going floppy mid-pipe, pop the bag in the fridge for ten minutes to firm it back up.
10. Fix Mistakes Before They Set
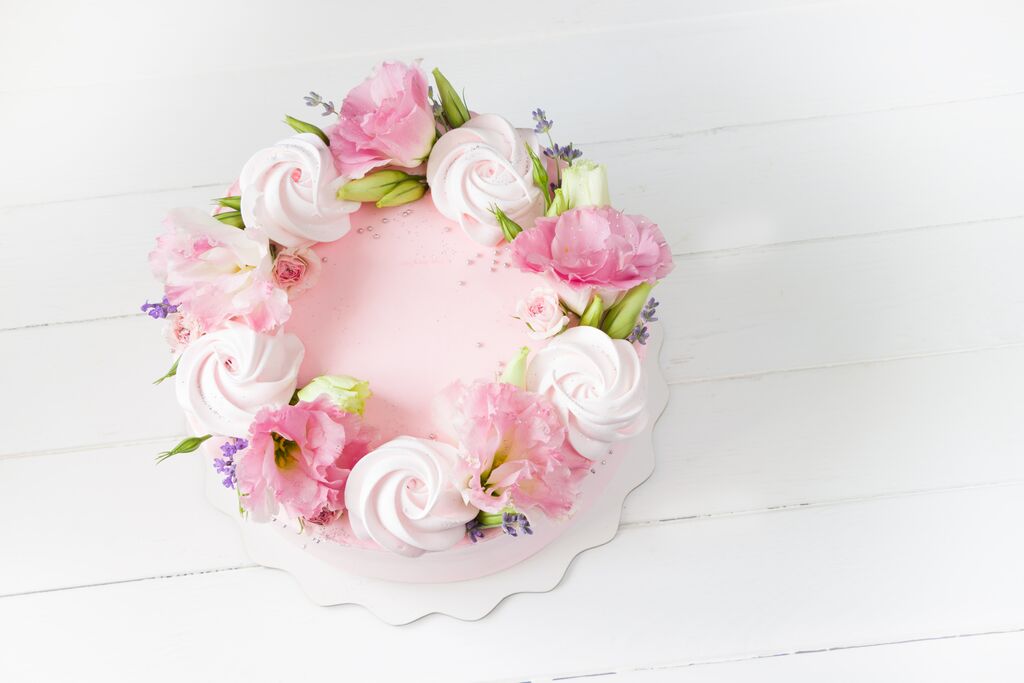
A wobbly rosette is not the end of the world. While the buttercream is still soft, scrape it off gently with a palette knife, smooth the spot, and pipe again. This is far easier than trying to correct it once it has crusted.
How Do You Pipe Buttercream Step by Step?
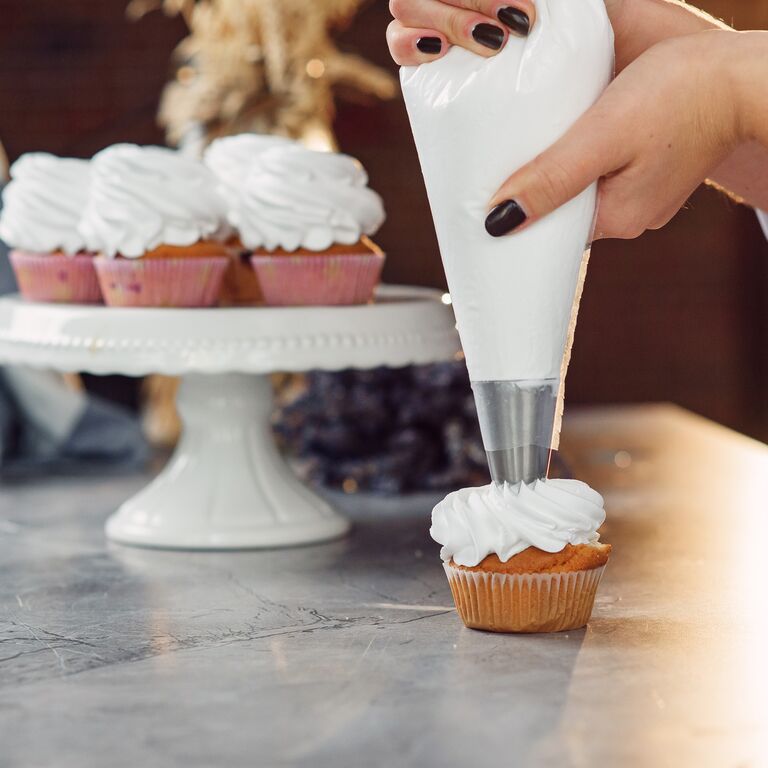
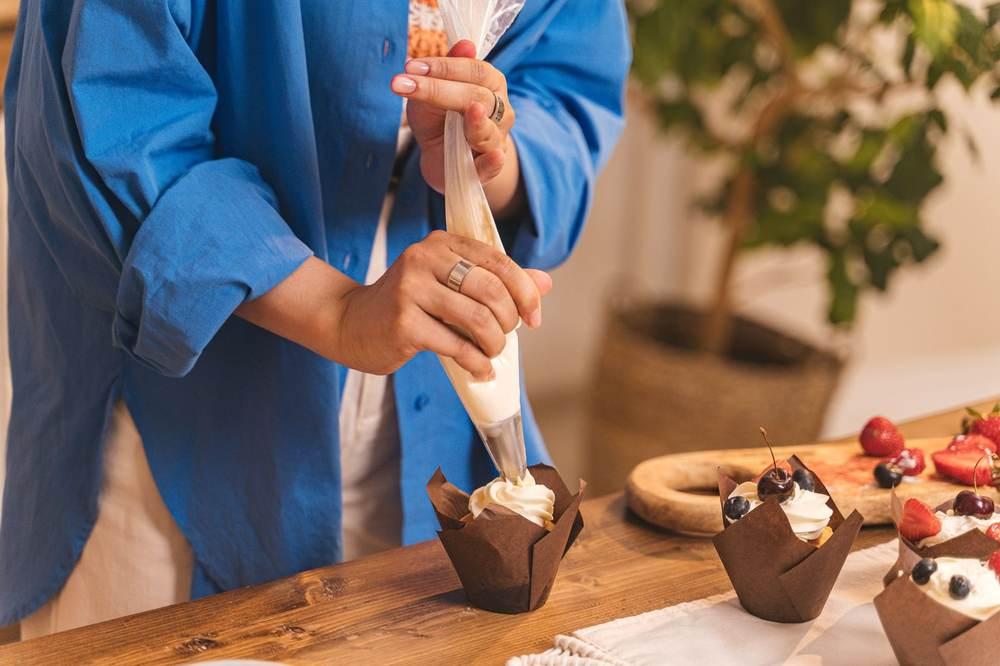
If you are still nervous, it helps to see how to pipe buttercream as one simple sequence rather than a mysterious skill. Fit your nozzle, fill the bag halfway and push out the air. Hold the bag in your writing hand near the twist, and use your other hand only to steady it.
Position the nozzle just above the surface, squeeze with steady pressure until the buttercream builds, then guide it into your shape. To finish, stop squeezing, then lift the nozzle away. That release-then-lift habit is the single move that makes piping for beginners look neat instead of messy. Repeat it a few times and it quickly becomes second nature.
Which Piping Nozzles Should You Start With?
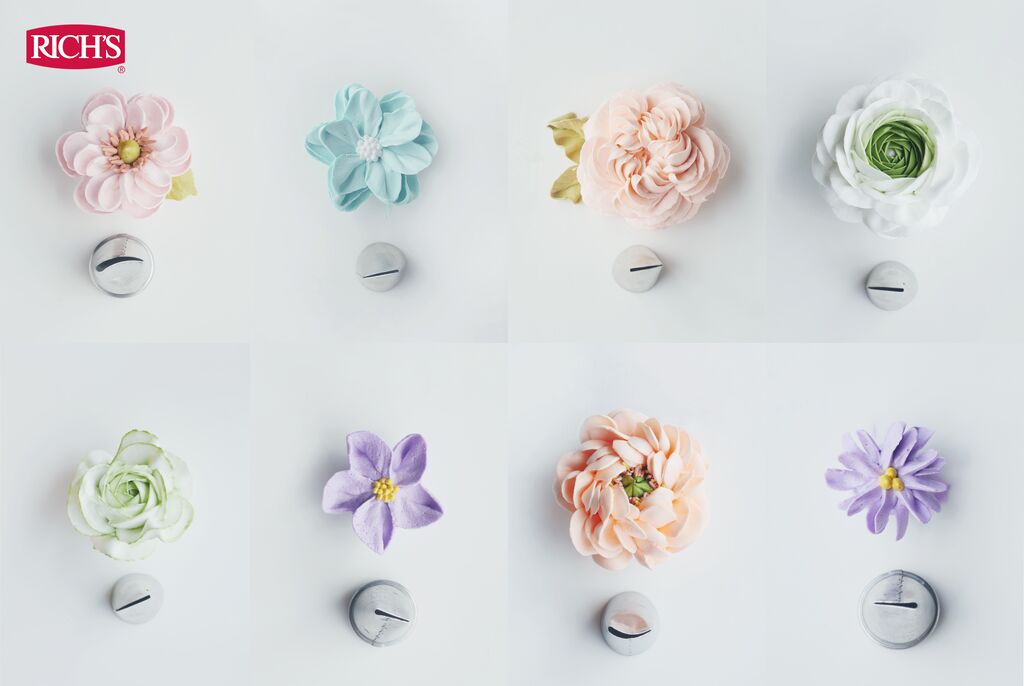
If you are building a small kit, these are the piping nozzles that give you the most variety for the least outlay.
| Nozzle Type | What It Creates | Great For |
|---|---|---|
| Large closed star | Classic swirls and rosettes | Cupcakes, cake borders |
| Open star | Ridged shells and stars | Borders, textured swirls |
| Round / plain | Smooth lines and dots | Writing, dots, pearls |
| Petal / rose | Ruffles and petals | Piped flowers, ruffle cakes |
| Leaf | Leaves and foliage | Floral cake decoration |
What Piping Mistakes Should You Avoid?
Most piping troubles trace back to a handful of causes. Here is a quick troubleshooting table for beginners.
| What Goes Wrong | Likely Cause | How to Fix It Next Time |
|---|---|---|
| Swirl collapses | Buttercream too soft | Stiffen the mix; chill the bag |
| Bag bursts at the seam | Overfilled or bag too thin | Fill halfway; use a sturdier bag |
| Line splutters and breaks | Trapped air in the bag | Push out air before piping |
| Uneven, wobbly shapes | Inconsistent pressure or speed | Focus on steady, even pressure |
| Buttercream tears the surface | Mix too stiff, or cake too soft | Loosen buttercream; chill the cake |
Work through these and your buttercream piping will look neater with every batch. Like most cake piping skills, it clicks suddenly once the basics are in place.
Frequently Asked Questions
1. What consistency should buttercream be for piping?
Smooth and spreadable, holding a soft peak. Too soft and it collapses; too stiff and it tears and tires your hands. Adjust with a little milk or icing sugar.
2. How do I fill a piping bag without making a mess?
Stand the bag in a tall glass and fold the top over the rim, then spoon in the buttercream with both hands free. Fill only halfway to two-thirds.
3. Which piping nozzles do beginners need?
Start with a large closed star, an open star and a round nozzle. These three cover swirls, borders, dots and lettering, which is most of what a homebaker needs.
4. Why does my piping keep spluttering?
Trapped air is usually the cause. Twist the bag and squeeze until the buttercream reaches the nozzle and the air pockets are gone before you start piping.
5. How do I pipe a neat cupcake swirl?
Hold the bag straight up, start from the outside edge, spiral inwards and upwards with steady pressure, then release and lift to finish the peak.
6. How do I stop buttercream melting while piping in the heat?
Work in a cool spot, keep your hands cool, and chill the filled bag for ten minutes if the buttercream softens. A stable buttercream also helps.
7. Can I reuse buttercream after practising?
Yes. Scrape practice piping back into the bowl or bag and reuse it, as long as it has not picked up crumbs. Practising first is well worth it.
References & Citations
Wilton. Piping Techniques and Nozzle Guide.
King Arthur Baking Company. Piping and Decorating Basics.
BBC Good Food. How to Use a Piping Bag.
Serious Eats. Buttercream Basics.